Versioning:
Â∫üËØù‰∏ç§öËØ¥ÔºåÊà뉪¨ÂÖà‰ªéÁªÉ‰πÝÂÖ•ÊâãÔºö
进入到version_ranges中,
conan create hello hello/0.1@user/testing
conan create chat user/testing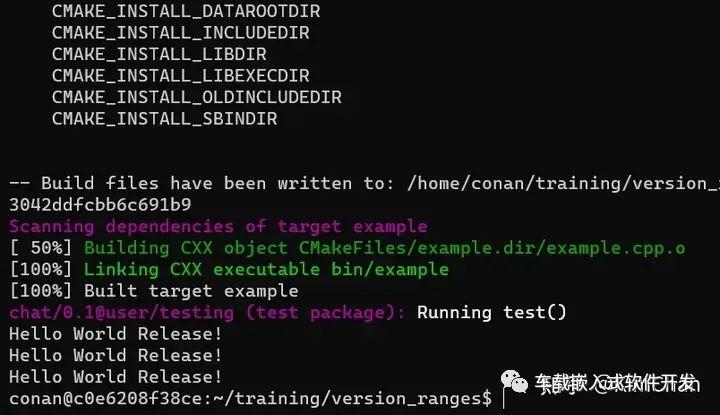
Âú®hello/src/hello.cpp‰∏≠ÂÅö‰∏ĉ∏™ÊîπÂä®ÔºàÊàëËøôÈáåÂä݉∫܉∏ĉ∏™v0.2Ôºâ
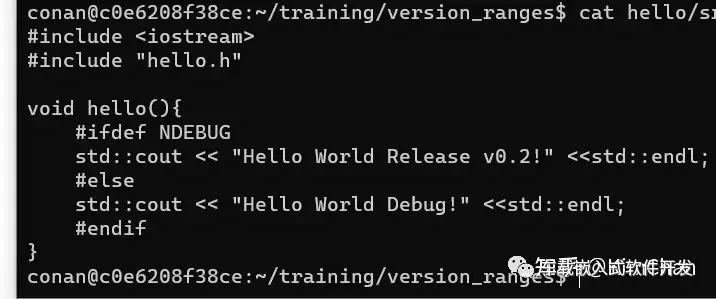
再次执行:
conan create hello hello/0.2@user/testing
conan create chat user/testing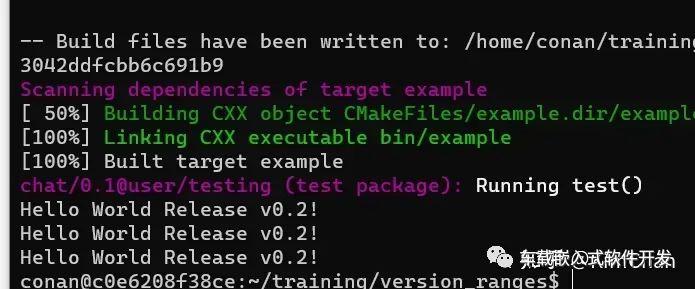
‰ΩÝËÉΩÁúãÂà∞ËæìÂá∫ÊúâÊâĉ∏çÂêå„ÄÇ
现在,我们看一下chat的recipe:

‰Ω݉ºöÊ≥®ÊÑèÂà∞ËøôÈáåÁöÑrequiresÔºåhelloÂåÖÁöÑÁâàÊú¨Âú®0.0Âà∞1.0ËåÉÂõ¥ÂÜÖ„ÄÇ

这里还可以写成这种形式,如上图。
Revisions
要使用revisions需要先使能这个功能:
conan config set general.revisions_enabled=TrueÁÑ∂ÂêéËÆæÁΩÆËøúÁ®ã‰ªìÂ∫ìÔºàÂèÇËÄÉC/C++ÂåÖÁÆ°ÁêÜConanÊïôÁ®ã„Äê8„Äë‰∏䉺ÝÂà∞ËøúÁ®ã‰ªìÂ∫ì - Áü•‰πé (zhihu.com)Ôºâ
conan remote add artifactory http://jfrog-artifactory-training:8081/artifactory/api/conan/conan-tmpÊúÄÂêéÂàÝÈô§Â∑≤Âàõª∫ÁöÑÂåÖÔºâÔºö
conan remove "hello*" -f准备工作就完成了。
现在,进入到revisions工程中:
cd revisions
然后创建hello包:
conan create hello user/testing
conan upload "hello*" --all -r=artifactory --confirm
‰øÆÊîπhello.cppÁÑ∂ÂêéÂÜçʨ°createÂπ∂‰∏䉺ÝÔºö
conan create hello user/testing
conan upload "hello*" --all -r=artifactory --confirm
然后检索远程仓库的hello包:
conan search hello/0.1@user/testing --revision -r=artifactory
如果想使用某个特定的版本,可以通过以下命令完成:
conan install hello/0.1@user/testing#<revision>¶ÇÊûú‰∏çÂäÝrevisionÔºåÂàôȪòËƧÂÆâË£ÖÊúÄÊñ∞ÁâàÊú¨„ÄÇ
Lockfiles
cd lockfiles
conan remove "hello*" -f
conan create hello hello/0.1@user/testing
conan lock create chat/conanfile.py --user=user --channel=testing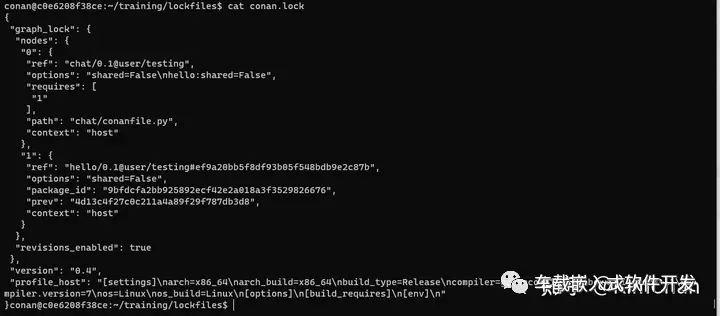
现在,在hello/src/hello.cpp中随便改点什么,然后执行:
conan create hello hello/0.2@user/testing会生成0.2的hello包。
现在尝试执行:
conan create chat user/testing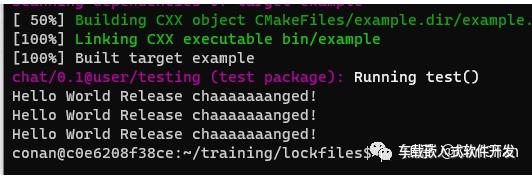
‰Ω݉ºöÂèëÁé∞‰æù˵ñÁöÑÊòØ0.2ÁâàÊú¨ÁöÑhelloÂåÖ„ÄÇ
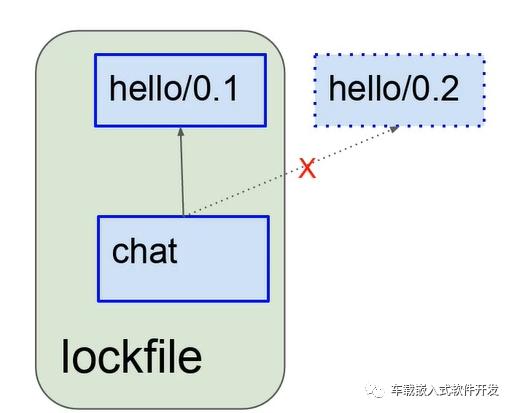
如果使用刚才生成的lockfile:
conan create chat user/testing --lockfile conan.lock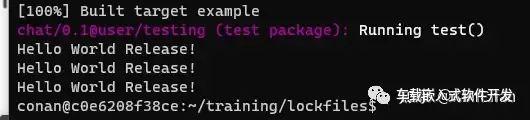
则使用的是lockfile里设置的0.1版本的hello包